Home / Help / How to Use Systweak Data Recovery / Saving the Recovered Files
Saving the Recovered Files
Systweak Data Recovery helps recover all popular photo formats, audio formats, video formats, document formats, and text & application formats at a location of your choice.
How to recover lost files:
Once the scanning is finished, you can view the scan results either by File Type or in Tree View.
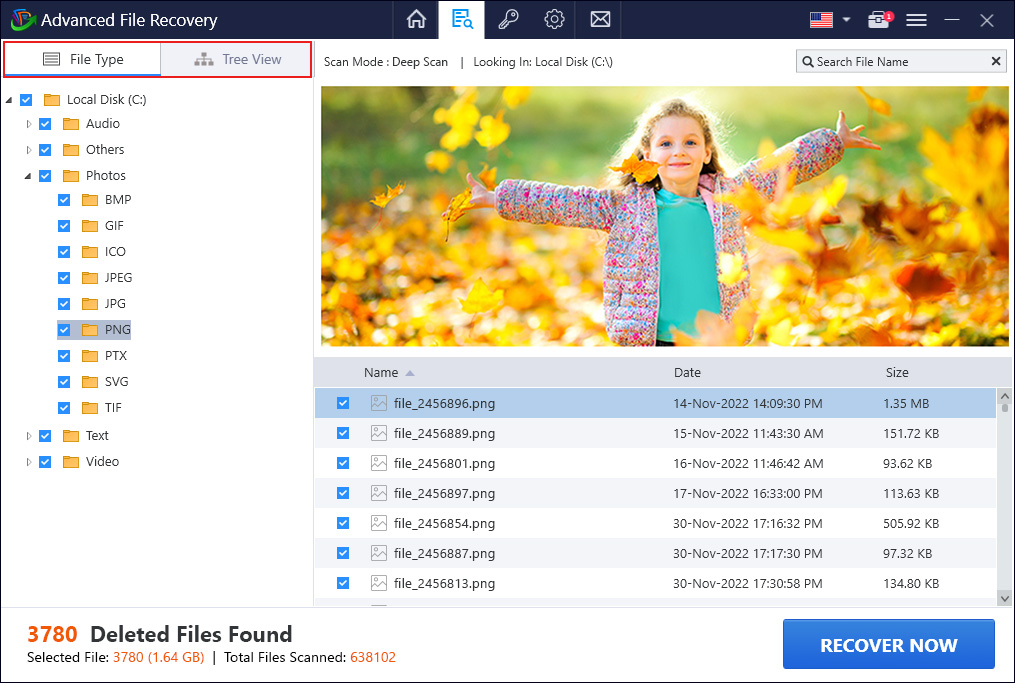
Select the view as per your choice and select the files you want to restore.
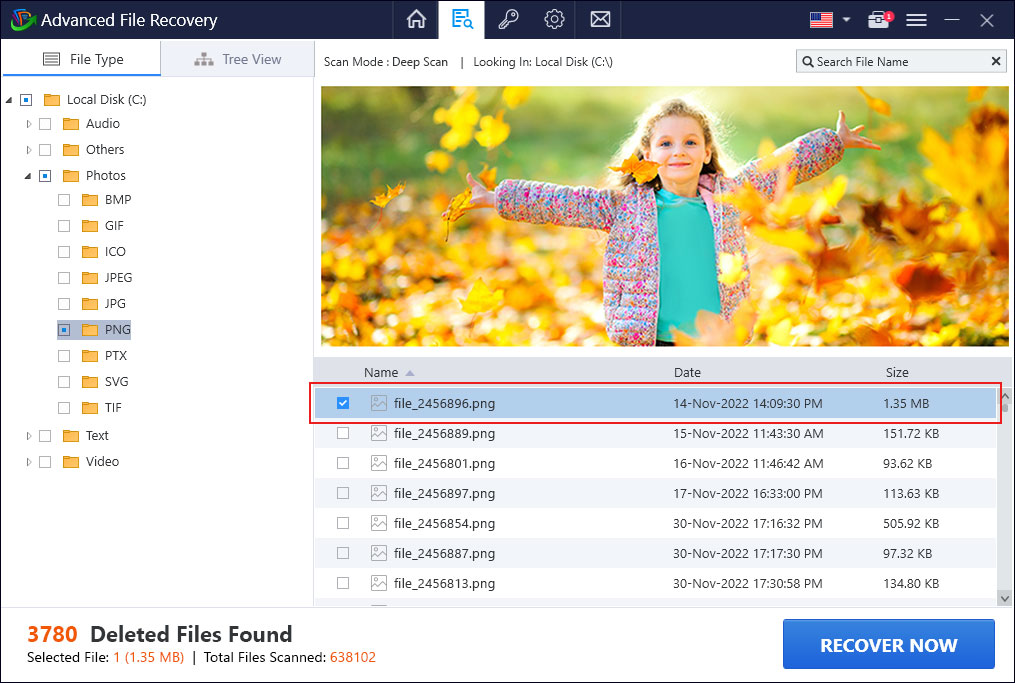
Preview the file > select it > click Recover Now.
To Search For Specific Files
To narrow the search find a deleted file with a specific name and format, use the Search File Name feature.
Once the scanning is done, and you see the scan results. You will see the Search File Name box in the top
right corner. Here, enter the file’s name or format and press the
Enter key. Next, click the arrow next to the search term, this will help get accurate results for the file
name you are searching
Preview file > select it and click Recover Now to save the file at your preferred location.
To Save All Scanned Files
Check the root node in the left pane and then click the RECOVER NOW button present in the bottom right corner.
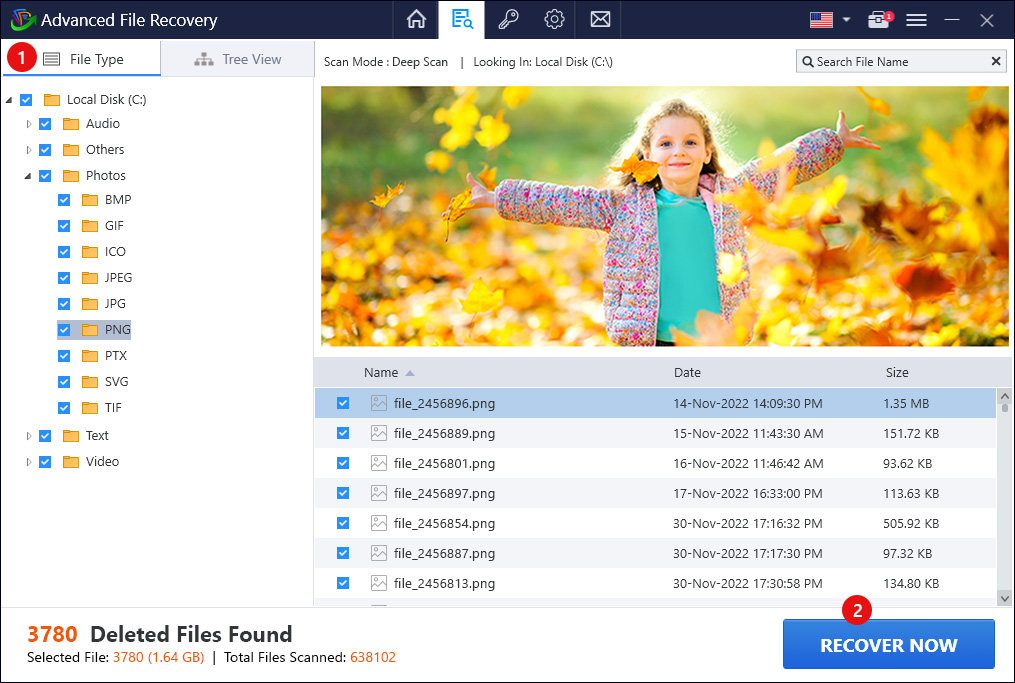
To Save Individual File(S)
Select the file you wish to recover.

Click the RECOVER NOW button > select the location where you want to recover it > Select Folder, and that's it.
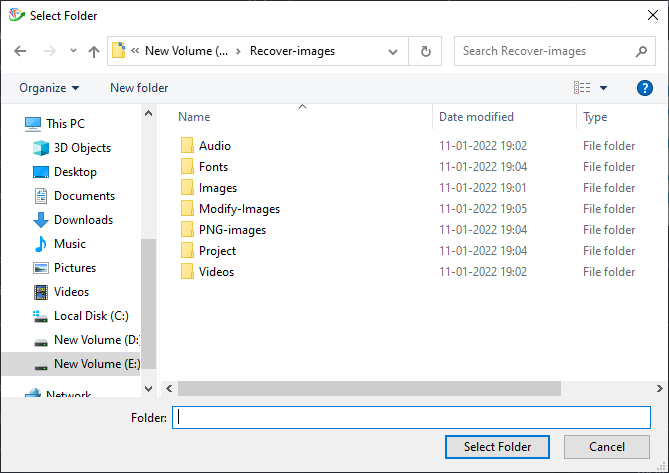
Systweak Data Recovery will now save the selected document, photos, audio, or video files on the location/folder chosen by you.
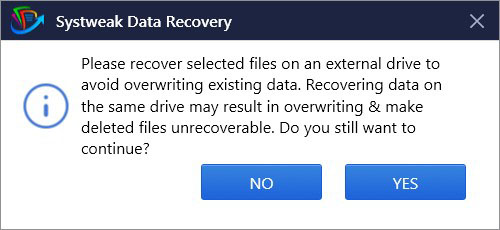
Furthermore, if you select the exact location you are scanning to save the file, Systweak Data Recovery will display a message to avoid accidentally overwriting data.
